Friday, August 26, 2011

GT6 rebuild continues

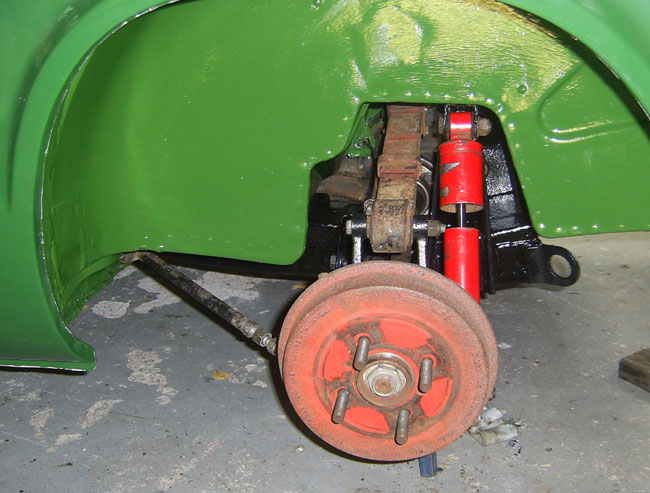
Over the last week I've been able to crack on with the GT6 rebuild fairly well, getting the driveshaft assemblies put back together and fitted on the car, the adjustable rear radius arms serviced and fitted. This means the car could go back down on it's wheels to make it easier to move around.


The rear bumper was removed from the old body, mounting threads cleaned up and re-fitted to the new body and the number plate light serviced.
The number plate light was a case in point of how a simple job can take quite a while if you are trying to do thing right. The hole where the number plate light wires go into the body is smaller in the new body, so I needed to fit a smaller grommet, simple eh? It should be, but someone had put some nasty replacement bullet connects on the light fitting, which did not mate well with the rest of the loom. So I ended up carefully removing the wires from another light fitting to make one good part, which all of course took time.


Armed with a tin of strong adhesive I made a start on the headligning, with the strips of sound deadening going in first, followed by the headligning. There are a few ripples in the fabric, but not much worse than it was before I removed it.


Meanwhile, the bonnet was refitted, along with the door glass, fuel filler, door handles and some smaller fittings.


I'd like to get the windscreen fitted soon, so I can start moving over the dash and wiring loom, but at the moment I'm having a bit of a job trying to find someone to supply and fit a Sundym (green tinted) windscreen. I know they are available as I have seen them listed by three Triumph parts suppliers, but none of the fitters seem able to find one.

Thursday, August 18, 2011

Start of the rebuild

Last week after the paint had cured on the chassis, I made a start re-assembling the GT6. The front suspension has been removed as complete units, so ten bolts later and both sides were back on the chassis, closely followed by the steering rack and differential.
In-between work on the chassis, the main body of the gearbox was swapped out for one I had rebuilt some years ago and fitted with a new old stock AP Borg-Beck clutch and then re-united with the engine before being refitted to the chassis as one unit.


Next up was the body, as before, it was carefully moved into place using trolley jacks, axle stands and lumps of wood until it was in position. Thankfully it all lined-up and all the bulkhead modifications were in the right place, giving the appropriate amount of space all around.


Then last weekend I started fitting some of the smaller parts back on the front end of the car, such as the front quarter valances, bumper, spoiler and inlet manifolds.


When I removed the driveshafts, upright and lower wishbone from the rear of the car I noticed the wishbones seemed a bit tight against the uprights, not letting them rotate very easily, so I wanted to check these over before fitted them back on the car. An hour later and one side was separated, but I had destroyed the bushes and cut the bolt in order to do so. The problem here was that the metal bush had seized onto the long trunnion bolt.
After getting psyched up ready to tackle the other side, it came apart quite easily, just as it should have, though I will replace the bushes for good measure.
It was suggested to me that for awkward parts like this, which have a habit of seizing up, there is something better that the usual Copaslip type anti-seize compounds, which is Chesterton 785. I have ordered a can of this, though I probably won't know for some time now how effective it really is as I don't plan on stripping these parts down again for quite some time.

While they were out, the rear uprights, wishbones and brake back plates were all given a couple of coats of Rust Bullet Black shell and the CV joints were cleaned out and re-packed with molybdenum grease for good measure.

Wednesday, August 10, 2011

Chassis time

A couple of weeks ago I made a start on the chassis by chopping off the outriggers, there was plenty of strong metal in them, but they were somewhat home-made looking and they would not have lined-up properly with the replacement body.


Cutting them off revealed the remain of the previous ones and a couple of holes in the chassis to be delt with.


The old and thinned metal was cut out and replaced with fresh 2mm plate, butt welded in. It's a shame I had to grind the welds back so much, but as the outriggers fit over this, it needs to be quite flat.


The replacement outriggers went on quite easily, with only a couple of milimeters needing to be removed from each outriger for them to fit in the right position on the chassis rail. Because I was fitting the outriggers without the body in place, quite some time was taken to make sure they were to be welded in the correct position, mainly by taking lots of measurements from the chassis I had borrowed to move the body to the paint shop.


I'd spent quite a bit of time stripping off the old paint, but I realised I could not get into all of the area to clean it as well as I wanted, so I decided to get it shot blasted. Luckily for me, I'd found someone fairly local, who could do the job while I waited.
With the chassis back, there was a little more welding to be done, the shot basting having revealed some thin metal in the bonnet mounts and the front crossmember. The chassis was then painted using Rust Bullet Black shell for added protection.